
Remote Backups Now Standard With Every Hosting Account
You spend so much time and money on your website as well as have most of your life stored within your email inbox – so it pays to protect this information. Host101 has already been providing comprehensive backups of your data but this is at the same location as the server.
We are now pleased to roll out remote off site backups using Idera R1Soft software which will be completely free for all hosting accounts. Each night, all data will be replicated to the off site backup server and at least 10 days worth will be kept.
How to access your Remote Backups
You are able to see all your backups in cPanel, we will show you how.
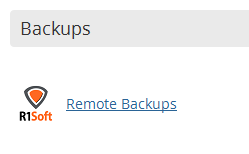
- Log in to your cPanel
- Under the Backups section, click the Remote Backups link. This will take you to the backup server and automatically log you in. Please note, for resellers you will need to access this logged in to cPanel via the user log in, not through WHM.
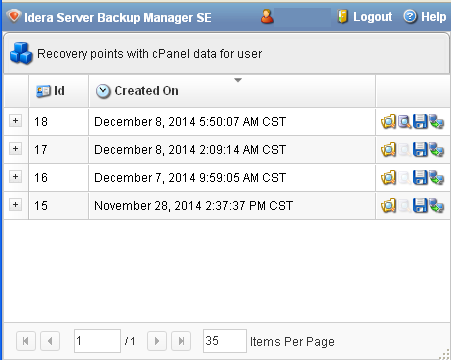
- Once you are in, you will see the list of recovery points. These are the times/dates when a backup was completed and is a complete archive of your account on that date.
- You can use the icons in the right hand column to perform actions on the listed recovery points:
 Click this icon to browse the contents of the recovery point. You can go through all the folders and download individual files.
 Click this icon to browse the MySQL databases. You can look at all your tables and restore all or individual MySQL databases.
 Click this icon to download a full archive of the recovery point.
 Click this icon to restore your entire account to the recovery point.
Restoring Individual Files
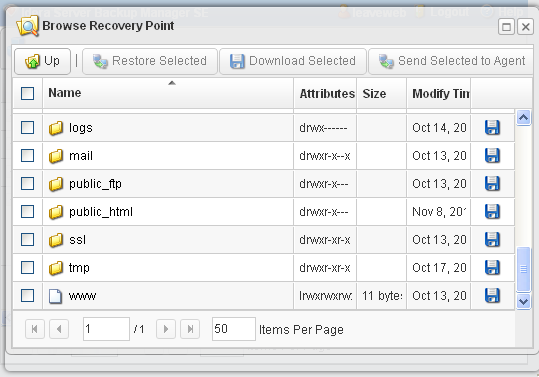
1. In the R1Soft interface, find the recovery point which you would like to restore from and click ![]() to browse the contents of that recovery point.
to browse the contents of that recovery point.
2. You will see the Browse Recovery Point window where the only folder will be the home folder. Double click the home folder and you will see the contents of your account.
3. Find the file you would like to restore by using the Browse Recovery Point window and click the check box on the left hand side. You may restore multiple files by clicking more than one check box.
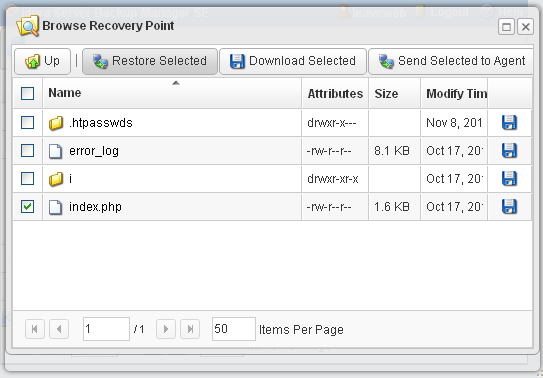
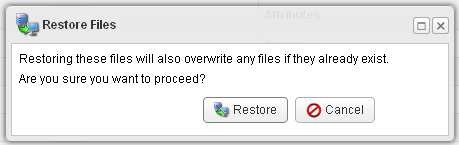
4. Click the Restore Selected button. It will ask you to confirm if it is OK to overwrite the existing files, click Restore to confirm.
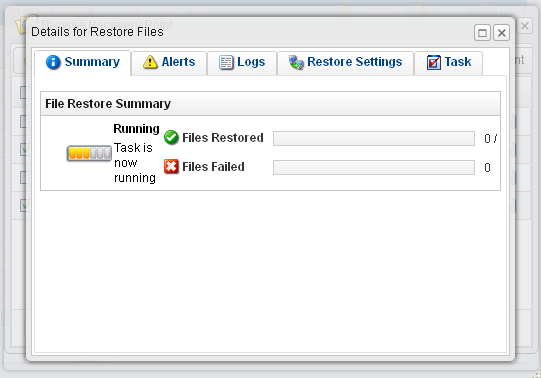
5. You will now see a progress box with all the details of the restoration task which you can monitor the progress.
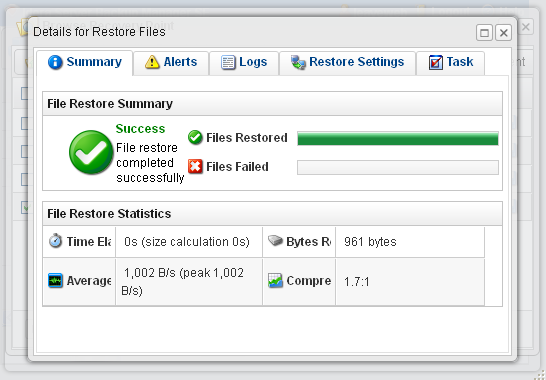
6. After the restoration is complete, you will see the a green tick. If there are any errors, you can see the details in the Log tab.
If you have any questions we are happy to assist 24/7 by submitting a support ticket.